
One of the most useful features of an out-of-band-management is the option to interact with your server. This way you can always make network changes or access the server when you want a custom reinstall.
Our out-of-band-management service is configured through the Worldstream remote access VPN. If you need help connecting to the out-of-band-management please consult this tutorial.
Contents:
| Fujitsu iRMC |
| Dell iDRAC |
| HP iLO |
| Lenovo TSM |
Fujitsu iRMC
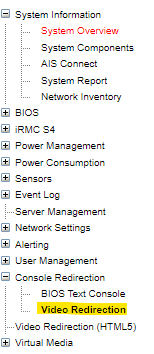
- If you use iRMC S4 you will see the following list at the left side. Look for ‘Video Redirection’:
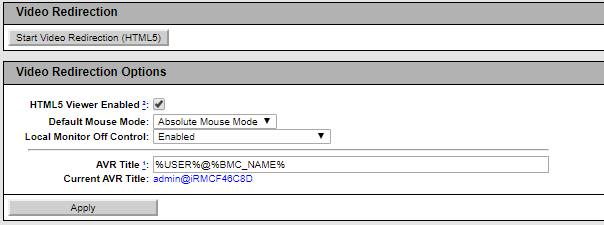
- Then check the box for ‘HTML5 Viewer Enabled’ and click ‘Start Video Redirection’.
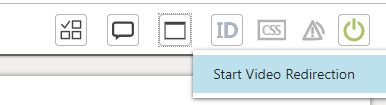
- If your server uses iRMC S5 the screen is little different, in the top right corner you’ll see the following:
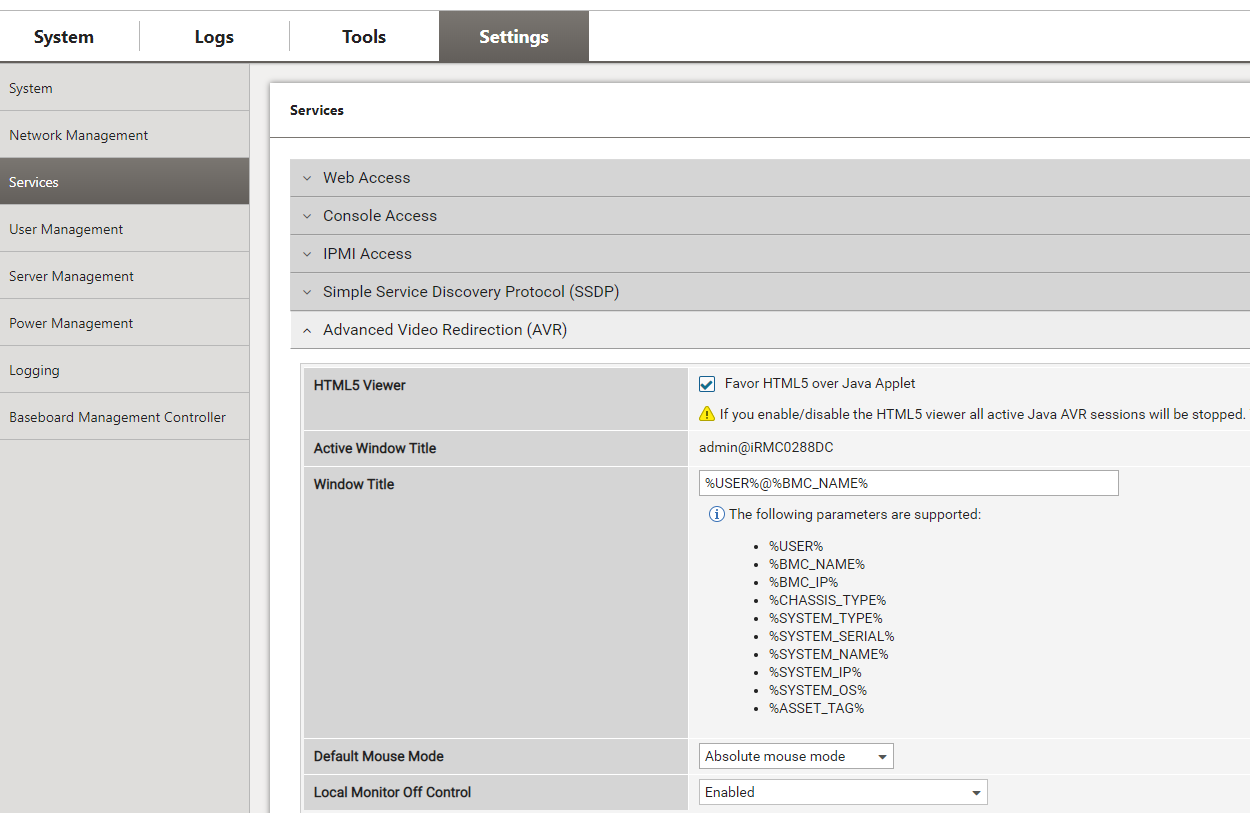
- To start simply press ‘Start Video Redirection’. To change the Console to HTML5 go to ‘Settings’, followed by ‘Service’ and check the ‘Favor HMTL5 over Java Applet’ box at ‘Advanced Video Redirection’:
Mounting an ISO with iRMC
- When you start the console redirection you’ll see a CD-rom icon in the top right corner.

- Click on ‘Browse File’ and select the ISO that want to use.
- Then click on ‘Start Media’.
- When you reboot the server press F12 to enter the boot options. Select ‘Fujitsu Virtual CD-ROM’ to start.
Dell iDRAC
If you have iDRAC version 8 or lower you will see the following screen when logged in: 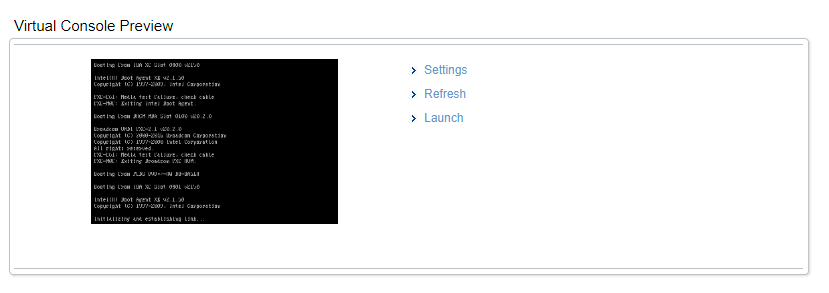
- To start the Console just select ‘Launch’. However we would suggest to head over to ‘Settings’ first.
- At ‘Settings’ select the dropbox at ‘Plug-in Type’ and select HTML5:
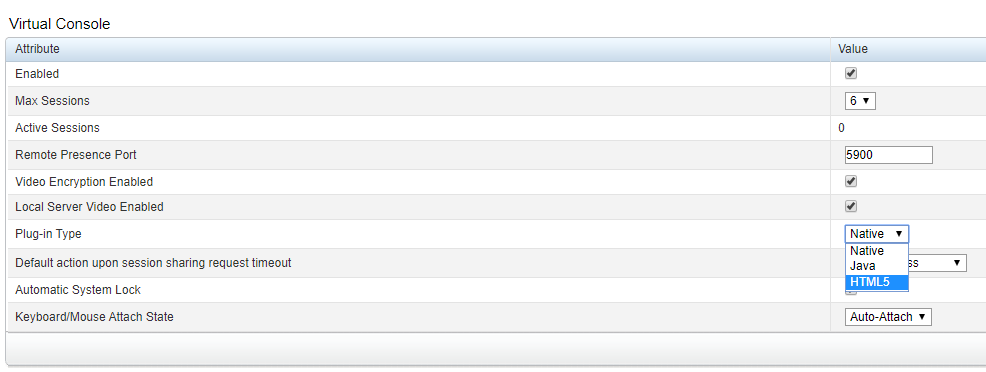
- When satisfied select ‘Apply’ to save the changes.
Note: if you have iDRAC version 9, you will a similar screen instead. The only difference is that it has a blue button underneath the preview stating: ‘Launch Virtual Console’.
Mounting an ISO with iDRAC
- When the console redirection is opened you can select ‘Connect Virtual Media’. Select the ISO that want to mount with ‘Browse’ and select ‘Map Device’:
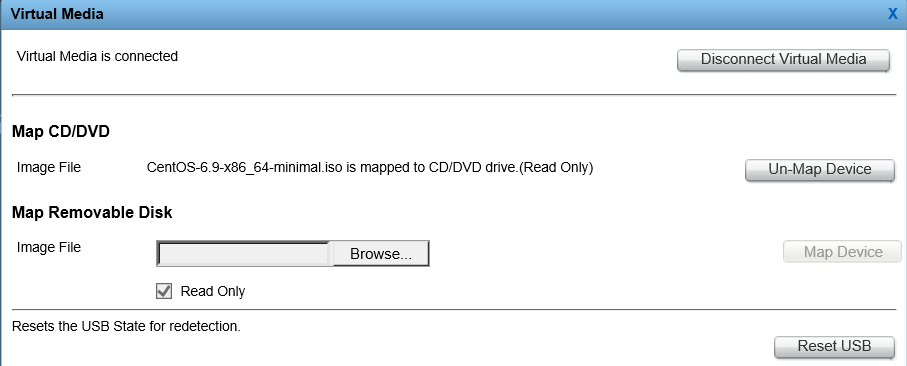
- After you have done the above you can close the screen and restart the server. Press F11 to start the boot manager. When you select ‘Virtual Optical Drive’ the ISO that is mapped will start.
HP iLO
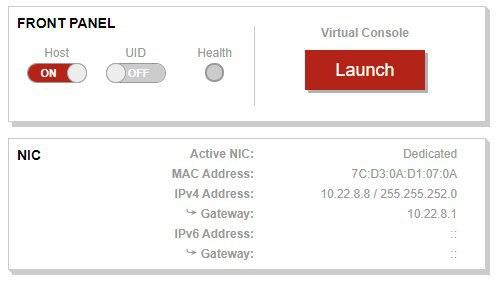
- When you login via the out-of-band-management through iLO you will see the following screen.
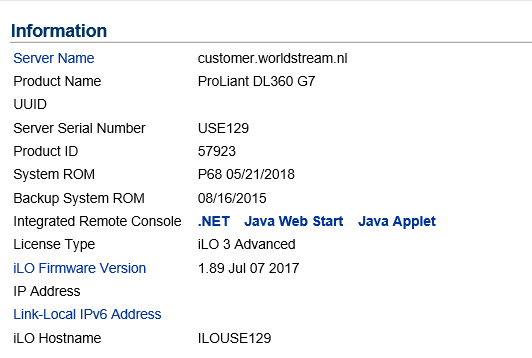
- Simply click on ‘Java Web Start’ to start the console redirection. If you are on Internet Explorer you can select .NET.
Mounting an ISO with iLO
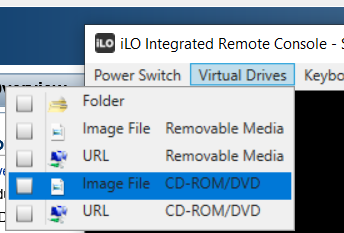
- When you start the iLO console redirection you can choose to mount your own ISO. You can do this at Virtual Drives when selecting ‘Image File’:
- When you restart the system press F11 for the ‘Default Boot Override Options’ and select ‘One Time Boot to CD-ROM’ to start the ISO.
Lenovo TSM
- Using the out-of-band-management for Lenovo is pretty straightforward. Once you are logged in, you will see the below screen:
- If you select ‘Launch’ the Console Redirection will start. For this option Java has to be installed.
Mounting an ISO with TSM
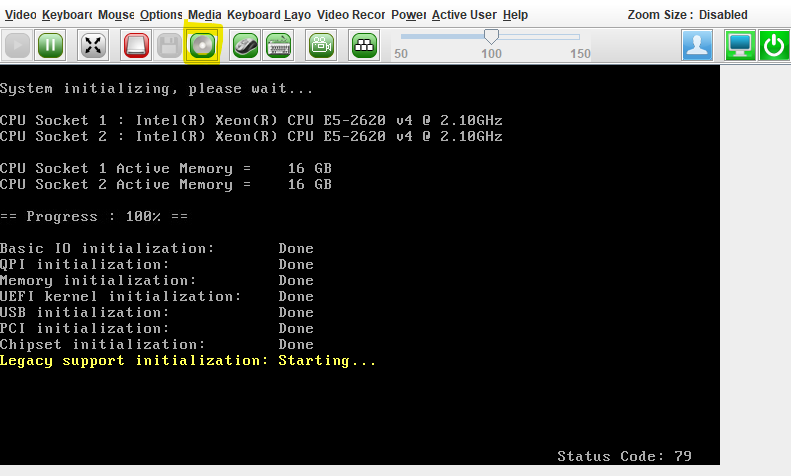
- If you want to add an ISO to install the server yourself, select the CD-rom icon at the Console redirection:
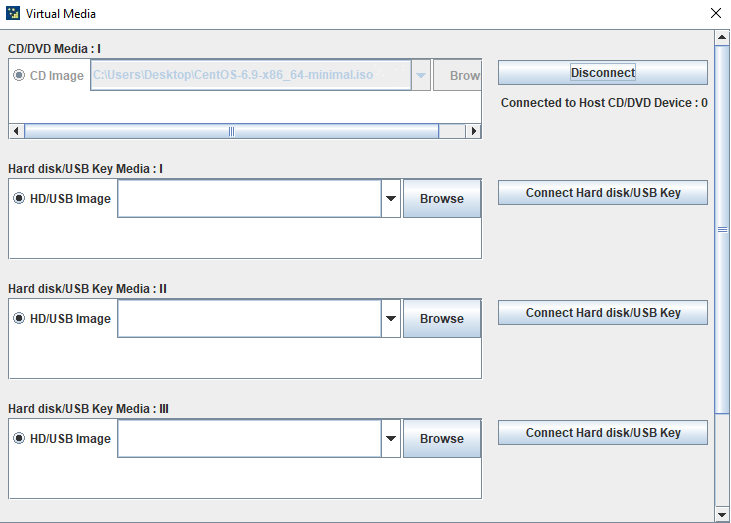
- To upload an ISO click ‘Browse’ at ‘CD/DVD Media’, go to the path and select the ISO of your choice:
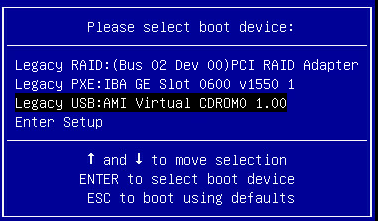
- Then press F12 to go to the ‘Boot Menu’ and select the highlighted option:
Now you can start installing the software that you prefer and know how to open the Console redirection on TSM.
Note: if you can’t connect with Java, check the settings of this program. At the Java Control Panel, go to ‘Security’ and set the security level to ‘High’ instead of ‘Very High’. Also add the address of the out-of-band-management to the ‘Exception Site List’.
If you are facing any difficulties with the out-of-band-management, feel free to send us an email here.
Learn more about our services: worldstream.com